
When you start the Filecap iOS app you see the following home screen, where you can choose between sending files (media) or invites:
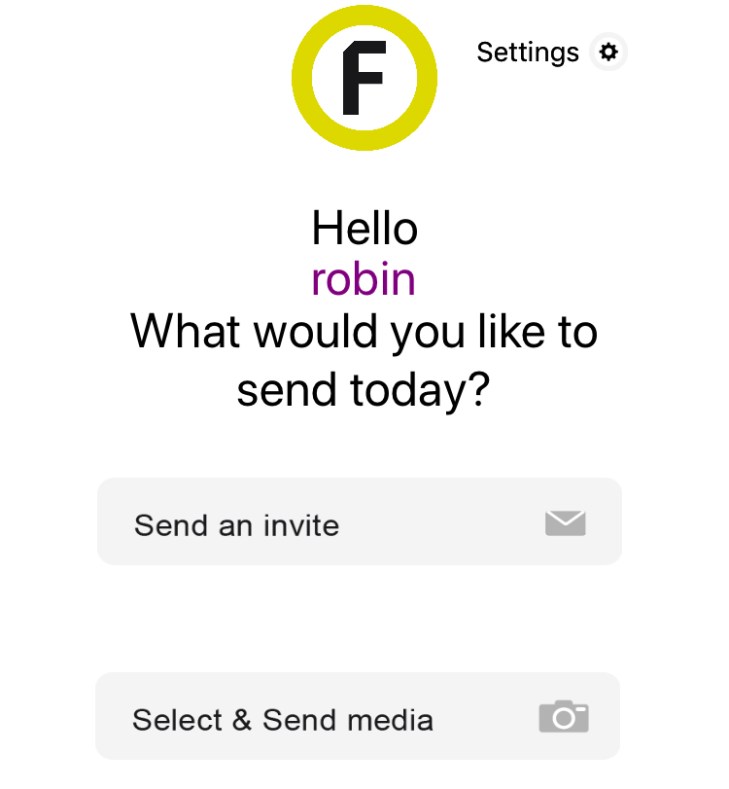
Sending files with the FileCap iOS App
Select “Select & Send media”, then you get the following screen:
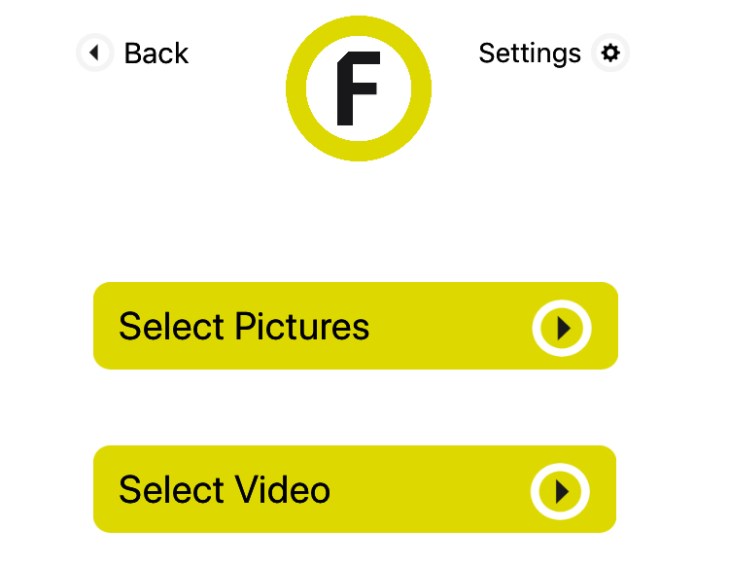
Click on “Select Pictures” or “Select Video”, in this example I selected Pictures.
FileCap App will ask for permissions to access pictures/videos.
When the permission is accepted you get the following screen:

The pictures which are selected get the FileCap logo as overlay. When you are done with selecting pictures click “Done”.
Then you get to the last screen:
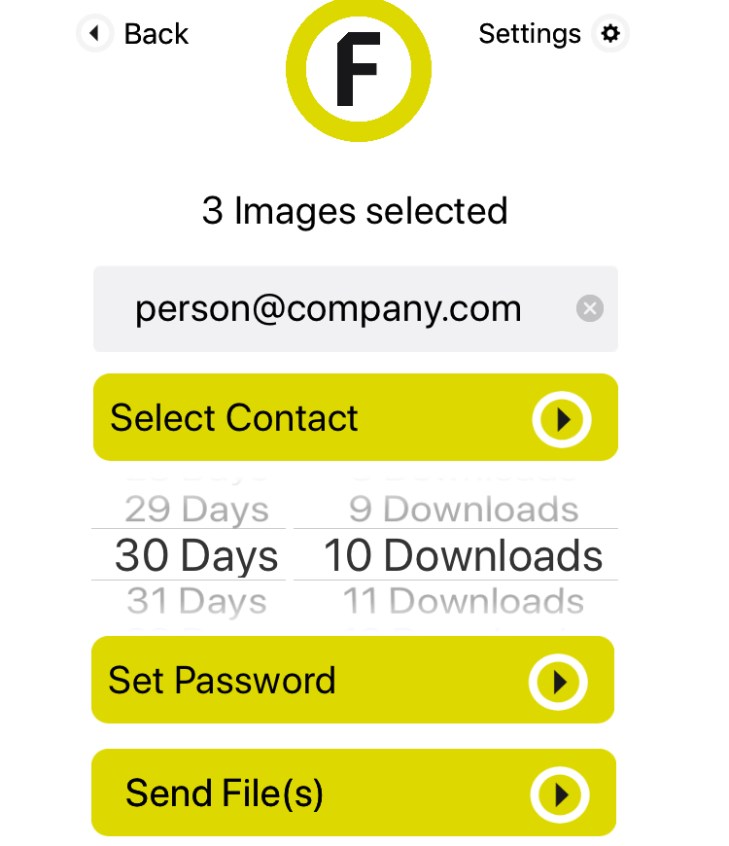
Here you can enter the email address of the person where you want to send files to, or select it from the iPhone contact list by pressing the “Select contact” button. Please keep in mind that in the current version you cannot enter multiple email addresses.
Also you can select the number of days which the link will be valid and how many times the files can be downloaded. Also setting a password is possible.
Sending invites with the FileCap iOS App
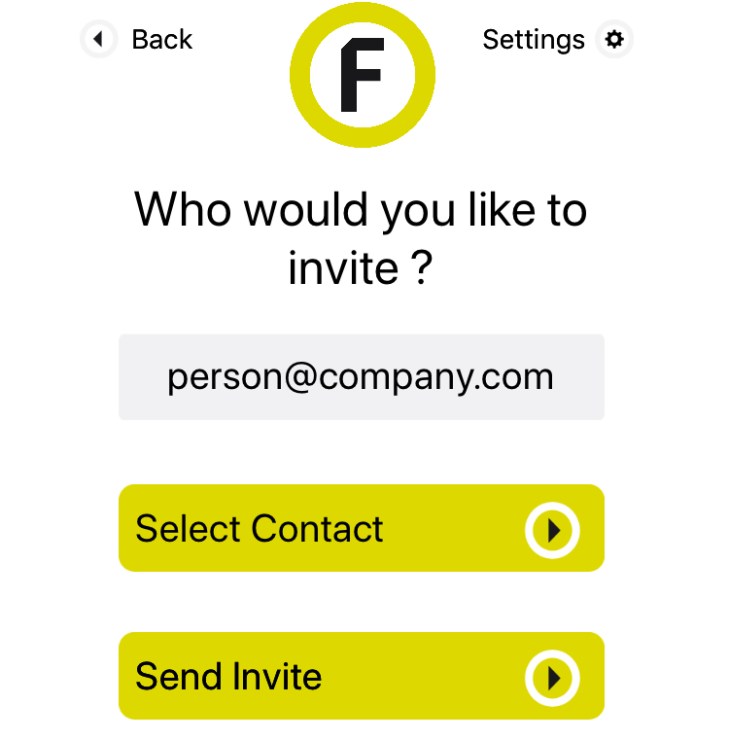
Here you can enter the email address of the person where you want to send the invite to or select it from the iPhone contact list by pressing the “Select contact” button. Please keep in mind that in the current version you cannot enter multiple email addresses.

You must be logged in to post a comment.