
The following steps will walk you through the process of a FileCap server installation from ISO image. This process is identical for VMware, Hyper-V and hardware.
It is highly recommended to have the required firewall rules as the installer will try to download the latest security patches.
Note for Virtual Environments: When you create a Virtual Machine in VMware or Hyper-V, there can be a question to select the Host OS, you need to select “Debian 64-bit”.
FileCap OS installation
To start the installation, boot the system from ISO image and choose “Install” in the bootloader, this will boot the installer.
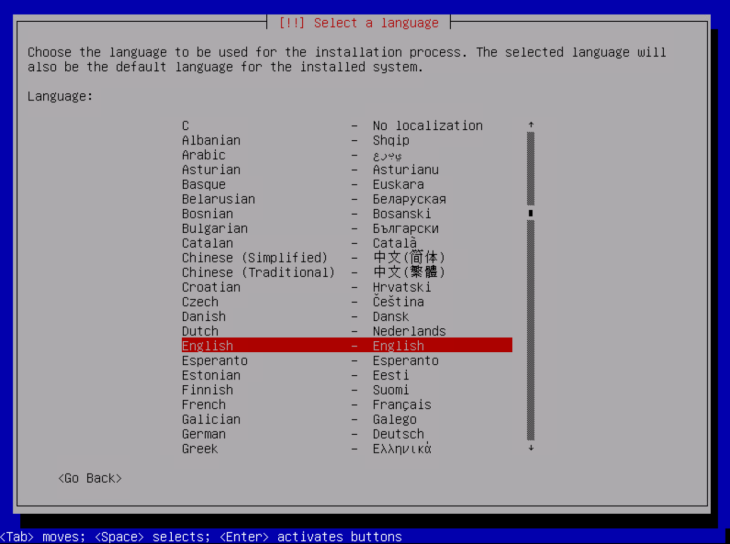
Select the language used for the installation process. It is recommend to keep this at the default “English”.
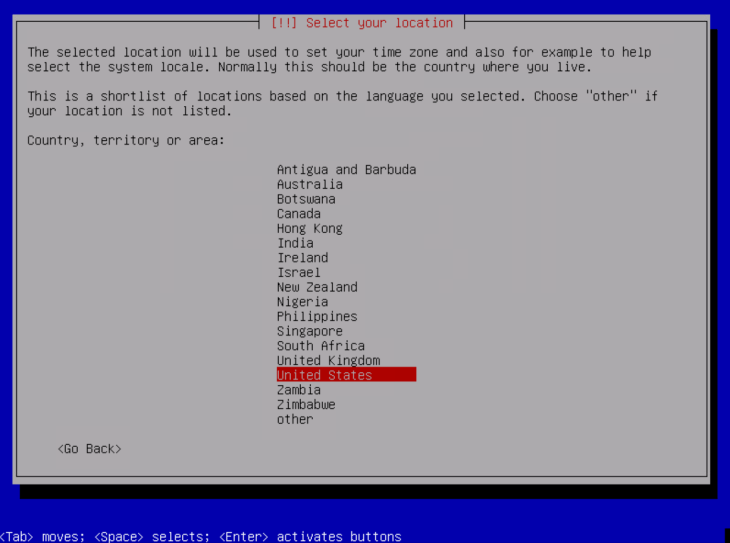
Select your location used for the correct timezone. Note: Select “other” for Europe.
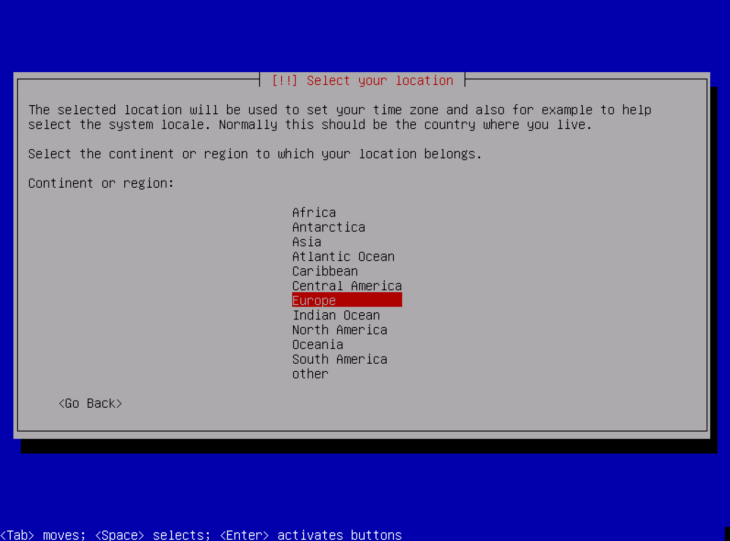
When you selected “other” in the previous screen you can select another location (like; Europe) here.
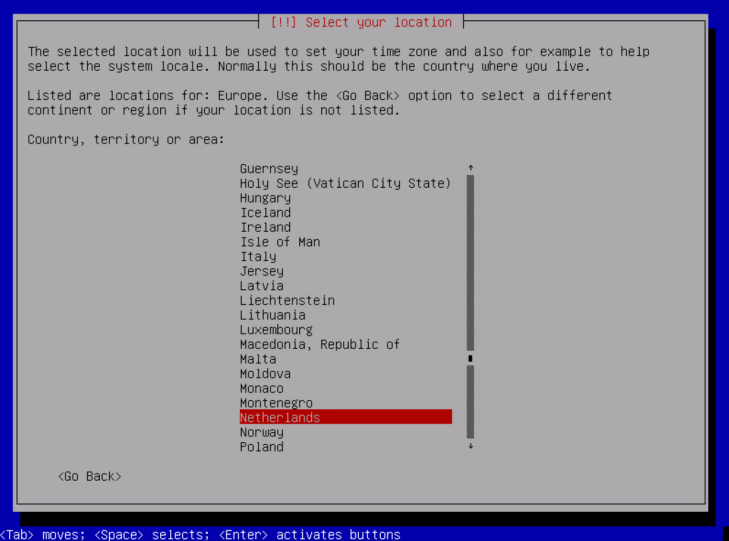
Select the correct country.
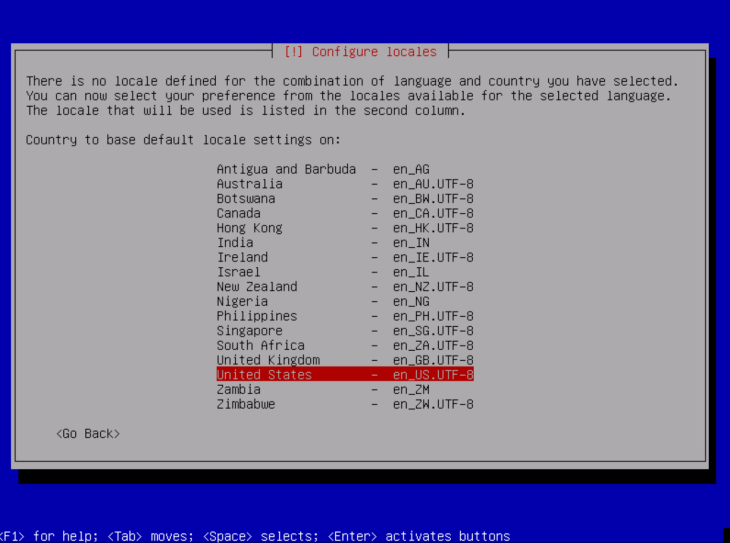
Choose a locale. (Please keep de default “United States – en_EN.UTF-8” option.)
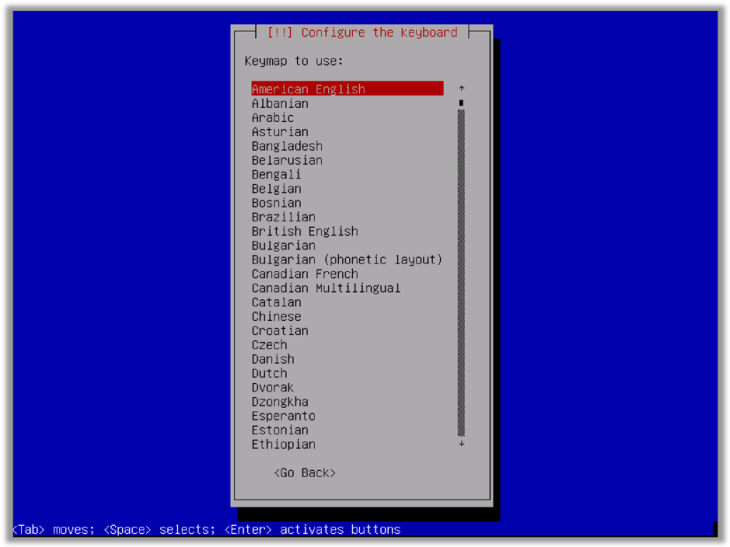
Select the keymap corresponding to your keyboard. (It is recommended to keep this at the default selected option “American English”.)
After selecting the keymap, the installer will preform a basic system setup, followed by the network auto configuration via DHCP.
In most networks this auto configuration will fail because there is no DHCP server in the DMZ. In this case the installer will display the following message:
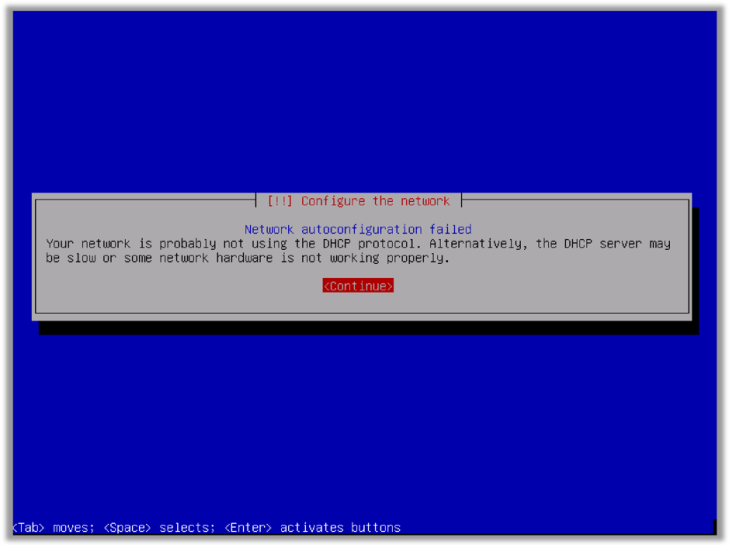
Error message when no DHCP address could be obtained.
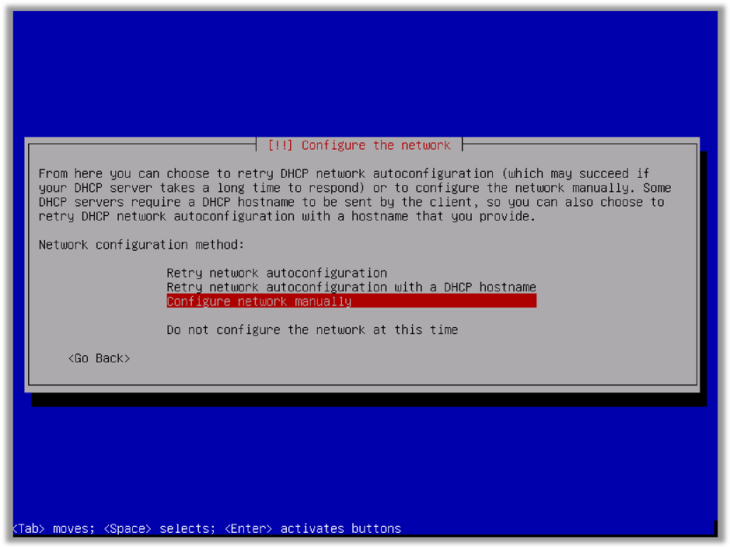
To manually set the network settings select the default option “Configure network manually”. In the fields after this enter the IP address, network mask, default gateway and name server.
In the fields after this enter the IP address, network mask, default gateway and name server.
The system will then ask for the console password. Please note that this password is only the console password, and not the admin password to configure FileCap via the web interface.
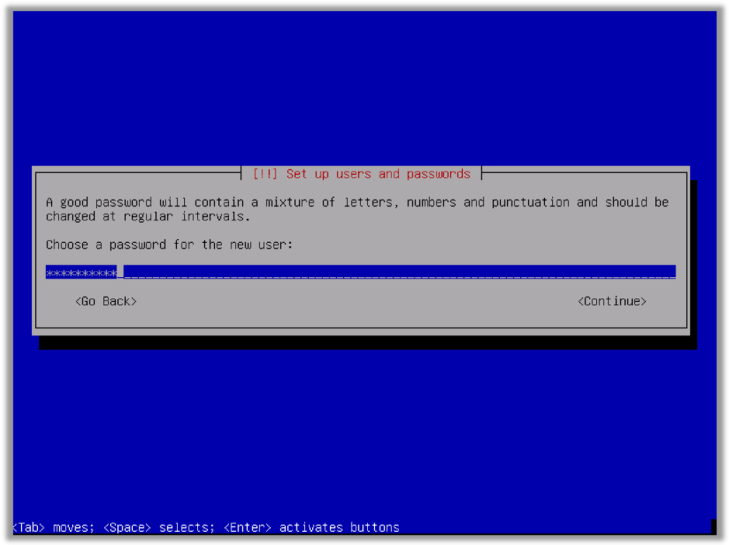
Choose a password and choose “Continue”. The system will ask for a password confirmation, enter the password again and choose “Continue”.
After setting up the networking and password, the installation detects the hard disk size and automatically chooses partitions sizes depending on the disk size.
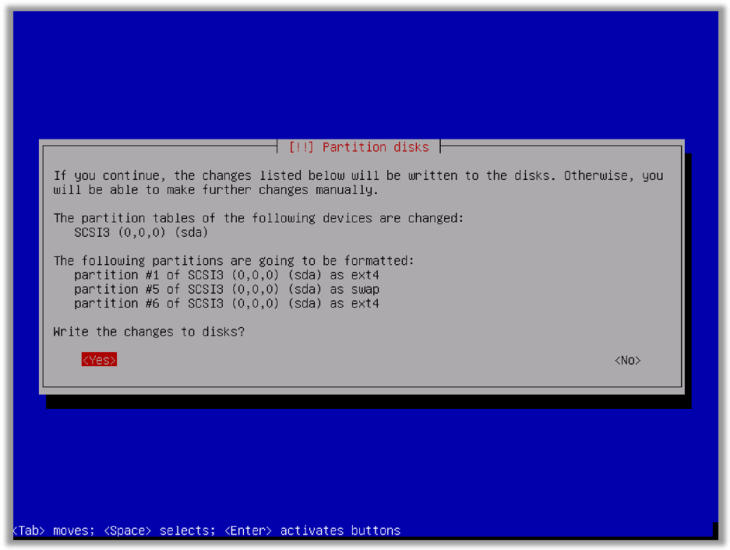
Choose “Yes” to write the changes to the disk.
The installation will now setup the disk and install the OS and all needed packages.
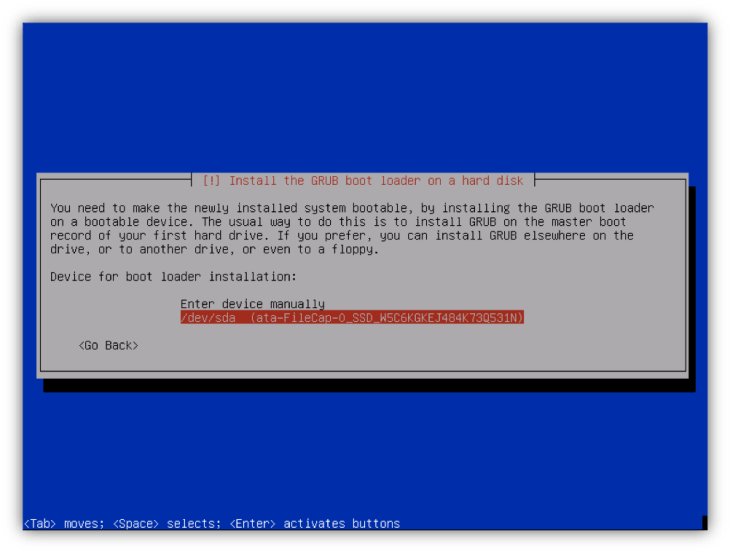
Now the installation will ask where the GRUB boot loader needs to be installed.
You can select the default /dev/sda
After the installation, the FileCap server will automatically reboot.
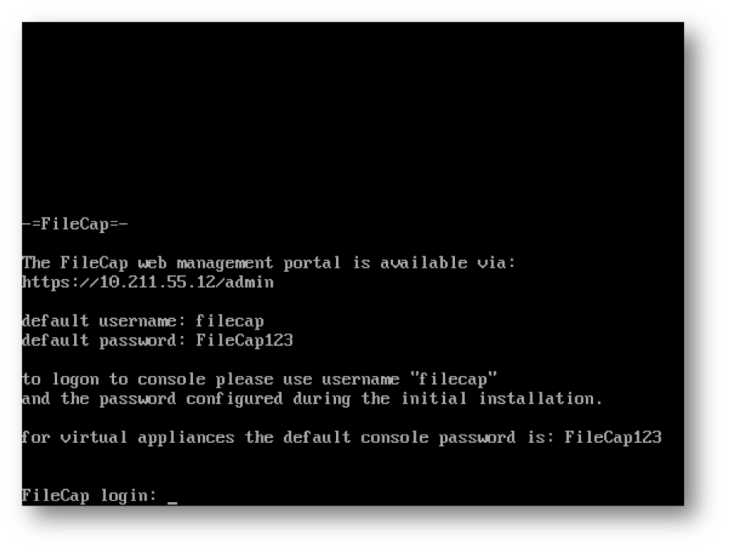
After booting Filecap will display the console and its management address.
Continue to the FileCap administration portal to configure FileCap.

You must be logged in to post a comment.