
There are two methods of installing the FileCap Windows Plugin, installing the EXE file or the MSI file.
Install the EXE file
When the FileCap Windows Plugin .exe installation is started you see the following screen.
All the input fields are mandatory:
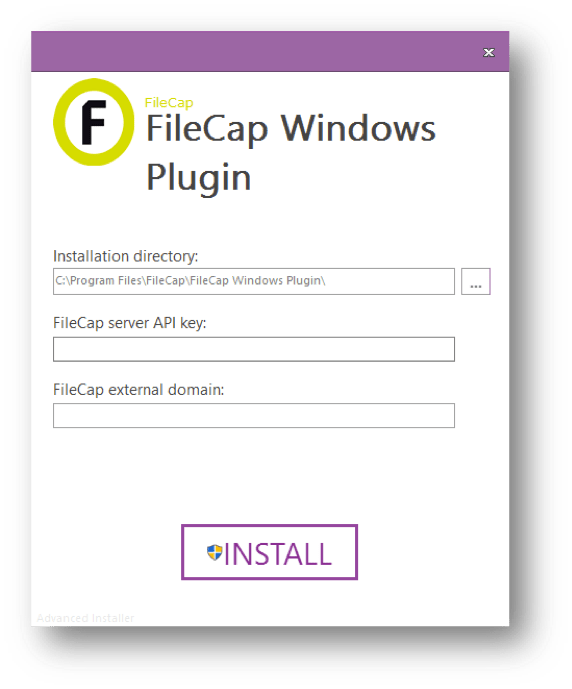
| Installation directory | Select the installation directory, the default setting is recommended. |
| FileCap server API key | Enter the FileCap server API key, this API key can be found at the FileCap Server Admin portal under: “Plugin settings -> API Key”
Note: the API key needs to be 30 characters long. |
| FileCap external domain | Enter the FQDN (full external hostname) of the FileCap server on which it is reachable from the internet. (for example: filecap.company.com)
Note: The format needs to be: filecap.company.com |
Install the MSI file
The MSI installation can be used to install the FileCap Windows Plugin silently with a loginscript or Group policy you can choose between a 32bit or 64bit installation depending on the operating system used.
The MSI installation requires two parameters to be set:
| APIKEY | Enter the FileCap server API key, this API key can be found at the FileCap Server Admin portal under: “Plugin settings -> API Key”
Note: the API key needs to be 30 characters long. |
| FILECAPDOMAIN | Enter the FQDN (full external hostname) of the FileCap server on which it is reachable from the internet. (for example: filecap.company.com)
Note: The format needs to be: filecap.company.com |
MSI silent installation example command
Run the following command with administrator rights:
msiexec /quiet /i FileCap_Windows_Plugin.msi APIKEY=xxxxxxxxxxxxxxxxxxxxxxxxxxxxxx FILECAPDOMAIN=filecap.company.com
Download location latest version
The FileCap Windows Plugin can be downloaded from the FileCap update website, and is currently only available in the English language:
http://update.filecap.net/downloads/FileCap-Plugin/FileCap_Windows_Plugin_EN_latest.zip

You must be logged in to post a comment.